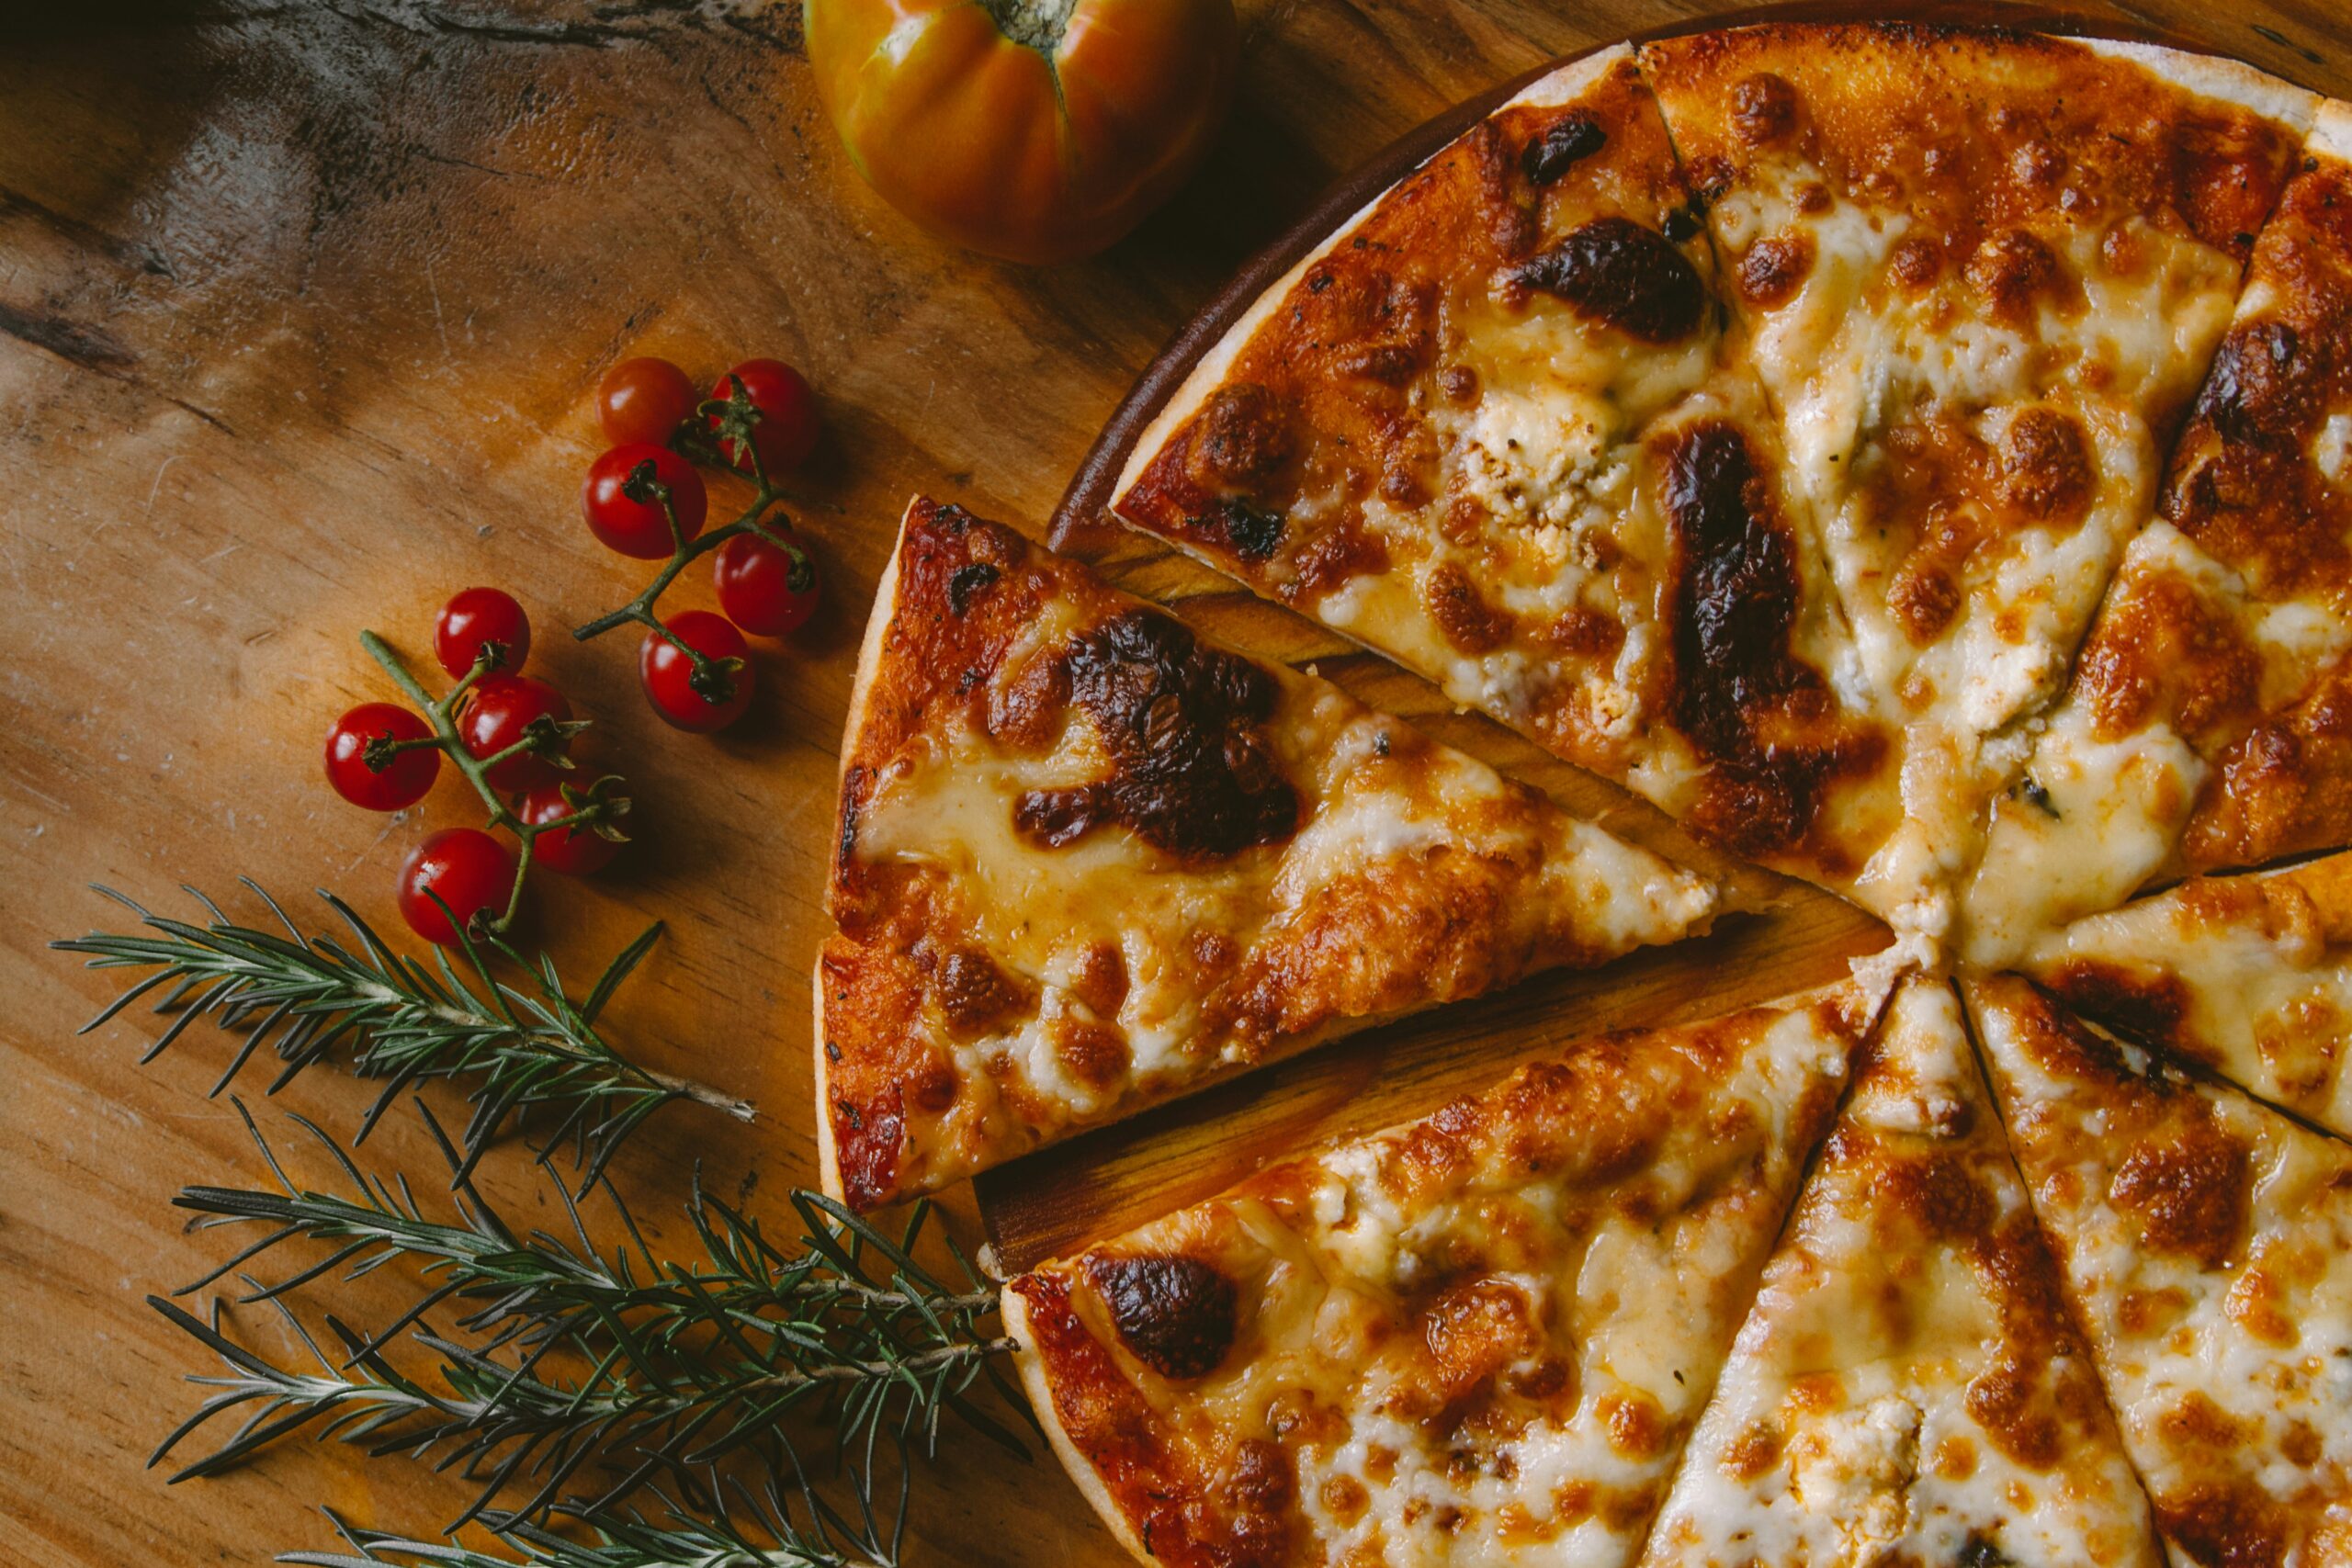

There is an undeniable magic in the sound of a pizza crust shattering under a cutter. That crisp, cracker-like snap, followed by the savory aroma of melted cheese, spicy pepperoni, and earthy mushrooms, is a sensory experience that few other foods can match. While many believe that restaurant-quality thin-crust pizza is a secret reserved for those with wood-fired ovens and generations of Italian heritage, the truth is much more accessible. You can create a masterpiece in your own kitchen that rivals the best pizzerias in New York or Rome.
This guide is designed to take you on a journey through the art and science of the thin crust. We will explore the nuances of dough hydration, the importance of ingredient selection, and the precise techniques required to achieve that elusive perfect crunch. Whether you are a novice baker or a seasoned home chef, this comprehensive deep dive will provide you with everything you need to master the Easy Homemade Pepperoni and Mushroom Thin Crust Pizza.
The Philosophy of the Thin Crust
Before we dive into the flour and yeast, it is essential to understand what makes a thin crust “thin.” Unlike the pillowy, bread-like texture of a Neapolitan or a thick Chicago-style deep dish, the thin crust—often referred to as “cracker crust” or “Tavern style”—relies on low moisture and high heat.
The goal is to achieve a base that is sturdy enough to hold toppings without sagging, yet light enough to feel like a delicate vessel for flavor. To achieve this, we focus on three pillars:
- Low Hydration: Using less water in the dough to prevent large air bubbles.
- Even Thickness: Rolling the dough consistently to ensure uniform baking.
- High Heat: Creating a thermal shock that crisps the bottom before the toppings overcook.
Ingredient Details in Form Shape
To create the perfect pizza, every component must be measured with precision. Below is the structured breakdown of everything you will need.
| Category | Ingredient | Quantity | Purpose |
|---|---|---|---|
| Dough | All-Purpose or “00” Flour | 2 ½ Cups (approx. 325g) | Provides the structure and gluten base. |
| Dough | Warm Water (105°F – 110°F) | ¾ Cup | Hydrates the flour and activates the yeast. |
| Dough | Active Dry Yeast | 1 Teaspoon | The leavening agent for a slight rise. |
| Dough | Extra Virgin Olive Oil | 2 Tablespoons | Adds flavor and helps the crust crisp up. |
| Dough | Granulated Sugar | 1 Teaspoon | Feeds the yeast and aids in browning. |
| Dough | Fine Sea Salt | 1 Teaspoon | Enhances the flavor of the crust. |
| Sauce | Crushed San Marzano Tomatoes | 1 Can (14 oz) | The sweet, acidic base of the pizza. |
| Sauce | Dried Oregano | 1 Teaspoon | Provides the classic Italian herb profile. |
| Sauce | Garlic Powder | ½ Teaspoon | Adds depth and savory notes. |
| Sauce | Red Pepper Flakes | ¼ Teaspoon | Optional kick for heat. |
| Toppings | Low-Moisture Mozzarella | 2 Cups (Shredded) | Provides the classic melt and stretch. |
| Toppings | Sharp Provolone | ½ Cup (Shredded) | Adds a tangy, smoky complexity. |
| Toppings | High-Quality Pepperoni | 4 oz (Sliced thin) | Salty, spicy, and crispy protein. |
| Toppings | Cremini or Button Mushrooms | 1 Cup (Sliced) | Earthy umami flavor and texture. |
| Finish | Fresh Basil Leaves | Handful | Freshness and aromatic finish. |
| Finish | Grated Parmesan Cheese | 2 Tablespoons | A salty, nutty final touch. |
Step-by-Step Recipe Detail
Follow these steps meticulously to ensure your pizza comes out perfect every single time.
Phase 1: Preparing the Dough
1. Activate the Yeast: In a small glass bowl, combine the warm water and sugar. Stir until the sugar is dissolved. Sprinkle the active dry yeast over the top and let it sit for about 5 to 10 minutes. You are looking for a foamy, frothy layer to form on the surface. This is “blooming,” and it confirms your yeast is alive and ready to work.
2. Mix the Dry Ingredients: In a large mixing bowl (or the bowl of a stand mixer), whisk together the flour and salt. If you have access to “00” flour, use it for a more authentic texture; otherwise, standard all-purpose flour works beautifully for home ovens.
3. Combine and Knead: Create a well in the center of the flour. Pour in the yeast mixture and the olive oil. Using a wooden spoon or a dough hook, mix until a shaggy ball forms.
- Hand Kneading: Turn the dough onto a lightly floured surface. Knead for 8–10 minutes until the dough is smooth, elastic, and no longer sticky.
- Stand Mixer: Knead on medium-low speed for 5–7 minutes.
4. The First Rise: Lightly oil a clean bowl with olive oil. Place the dough inside, turning it once to coat it in oil. Cover the bowl with a damp cloth or plastic wrap. Place it in a warm, draft-free spot for 60 to 90 minutes, or until it has doubled in size.
Phase 2: Preparing the Sauce and Toppings
While the dough rises, you can focus on building the flavor profiles of your toppings.
1. The “No-Cook” Sauce: For a true thin-crust pizza, you don’t want a heavy, simmered sauce. Mix the crushed tomatoes, oregano, garlic powder, salt, and red pepper flakes in a bowl. Let it sit at room temperature. This allows the herbs to hydrate and the flavors to meld without losing the fresh brightness of the tomatoes.
2. Pre-Sautéing the Mushrooms (The Secret Step): Mushrooms are roughly 90% water. If you put raw mushrooms on a pizza, they will release moisture during baking, resulting in a soggy crust.
- Heat a teaspoon of olive oil in a skillet over medium-high heat.
- Add the sliced mushrooms and a pinch of salt.
- Sauté until they are browned and their liquid has evaporated. Set aside to cool.
3. Prepping the Cheese: Always grate your cheese from a block. Pre-shredded cheeses are coated in potato starch or cellulose to prevent clumping, which interferes with a smooth melt. Mix the mozzarella and provolone for a balanced flavor.
Phase 3: Shaping and Rolling
1. Preheat the Oven: This is the most critical part of the process. Set your oven to its highest possible setting—usually 500°F (260°C) or 550°F (285°C). If you have a pizza stone or steel, place it on the middle rack at least 45 minutes before baking.
2. Divide the Dough: Punch the risen dough down to release air. Divide it into two equal portions. This recipe makes two 12-inch thin-crust pizzas.
3. The Rolling Technique: Unlike Neapolitan pizza, which is stretched by hand, thin crust is often rolled with a rolling pin to ensure it stays flat and thin.
- Lightly flour your work surface.
- Roll the dough from the center outward, rotating it frequently.
- Aim for a thickness of about 1/8th of an inch. If the dough snaps back, let it rest for 5 minutes to relax the gluten, then continue rolling.
Phase 4: Assembly and Baking
1. Transfer the Dough: Dust a pizza peel (or the back of a baking sheet) with cornmeal or parchment paper. Carefully transfer your rolled-out dough onto the peel. Give it a little shake to make sure it’s sliding freely.
2. Layering the Flavors:
- The Sauce: Spread a thin layer of sauce (about 3-4 tablespoons) over the dough, leaving a half-inch border for the crust. Don’t over-sauce! Too much liquid is the enemy of a crisp crust.
- The Cheese: Sprinkle a generous layer of your cheese blend.
- The Toppings: Distribute the pepperoni slices evenly. As they bake, the fat from the pepperoni will render and flavor the cheese and mushrooms. Add the pre-sautéed mushrooms on top of the cheese.
3. The Bake: Slide the pizza onto the preheated stone or steel. Bake for 8 to 12 minutes. Watch closely! You are looking for the crust to turn a deep golden brown and the cheese to be bubbling and starting to brown in spots.
4. The Finish: Remove the pizza from the oven. Immediately sprinkle with grated Parmesan and fresh basil leaves. Let it rest for 2-3 minutes on a wire rack (this prevents the bottom from steaming and getting soft) before slicing.
Deep Dive: The Science of the Perfect Crust
To truly appreciate the process of making an “Easy Homemade Pepperoni and Mushroom Thin Crust Pizza,” we must look at the science happening inside the oven.
The Role of Gluten
Gluten is the protein network that gives bread its structure. In thin-crust pizza, we want enough gluten to allow the dough to be rolled very thin without tearing, but not so much that it becomes chewy like a bagel. Using All-Purpose flour provides a moderate protein content (around 10-12%) that strikes this balance perfectly. If you find your dough is too “rubbery” or hard to roll, it simply needs more “bench time”—resting allows the gluten strands to relax.
The Maillard Reaction and Caramelization
When you see those beautiful brown spots on the crust and the toasted edges of the pepperoni, you are witnessing the Maillard reaction. This is a chemical reaction between amino acids and reducing sugars that gives browned food its distinctive flavor. By adding a teaspoon of sugar to our dough, we provide the fuel for this reaction, ensuring a flavorful, golden-brown finish even in a home oven that doesn’t reach 900°F.
Yeast Fermentation
While this recipe is designed to be “easy” and relatively quick, the flavor of the dough can be significantly enhanced through cold fermentation. If you have the time, make the dough a day in advance and let it rise in the refrigerator for 24 hours. Cold temperatures slow down the yeast, allowing it to produce more complex esters and acids, resulting in a crust with a much deeper, bread-like flavor.
Topping Synergy: Pepperoni and Mushroom
Why do pepperoni and mushrooms work so well together? It comes down to the balance of flavors: fat, salt, acidity, and umami.
The Pepperoni
Pepperoni is a cured meat, typically a blend of pork and beef, seasoned with paprika, garlic, and fennel. When exposed to high heat, the edges of the pepperoni curl upward (creating “cups”). These cups trap the rendered fat, concentrating the spice and creating a crispy texture that contrasts with the soft cheese.
For the best results, look for “old world” or natural casing pepperoni. These are designed to curl. If you use standard deli-style pepperoni, it will lay flat, which is still delicious but lacks that specific “crisp cup” texture.
The Mushrooms
Mushrooms provide the “earthy” counterpoint to the spicy pepperoni. As mentioned in the recipe, sautéing them is non-negotiable for a thin-crust pizza. When sautéed, mushrooms develop a concentrated umami flavor.
- Cremini (Baby Bellas): These are my top choice. They have a firmer texture and more flavor than white button mushrooms.
- Shiitake: If you want a more gourmet twist, use shiitakes for a woody, intense flavor.
- Oyster Mushrooms: These add a delicate, velvety texture that pairs beautifully with melted mozzarella.
The Importance of Cheese Selection
While mozzarella is the king of pizza cheese, it can be a bit one-dimensional on its own. That is why we suggest a blend.
- Low-Moisture Mozzarella: Unlike fresh mozzarella (the balls stored in water), low-moisture mozzarella has been aged slightly. This gives it a better “stretch” and prevents it from releasing water during the bake, which is vital for maintaining a crispy thin crust.
- Provolone: Adding a bit of provolone brings a nutty, slightly sharp flavor that cuts through the fat of the pepperoni.
- Parmigiano-Reggiano: This is the “salt” of the cheese world. Adding it after the bake preserves its delicate enzymes and provides a punch of savory intensity.
Equipment: Tools for Success
You don’t need a professional kitchen, but a few specific tools can make the process significantly easier.
1. The Pizza Stone or Steel
A baking sheet is a heat conductor, but it lacks the thermal mass required to instantly crisp the bottom of a pizza. A Pizza Steel is widely considered the best tool for home ovens because it conducts heat much faster than stone, leading to a crispier crust. If you don’t have either, you can flip a heavy-duty baking sheet upside down and preheat it—it’s a great DIY alternative.
2. The Rolling Pin
For thin-crust pizza, a heavy rolling pin is your friend. It allows you to apply even pressure to get that paper-thin consistency. Wooden pins are classic, but stainless steel pins can be chilled, which helps if your kitchen is particularly warm.
3. The Pizza Peel
Moving a loaded, raw pizza onto a scorching hot stone is the most stressful part of the process for beginners.
- Wooden Peels: Best for assembly. The dough is less likely to stick to wood.
- Metal Peels: Best for removing the pizza. They are thin and slide easily under the baked crust.
- Pro-Tip: Use a mix of flour and cornmeal on your peel. The cornmeal acts like tiny ball bearings, helping the pizza slide off with ease.
Troubleshooting Common Pizza Problems
Even with a perfect recipe, things can go wrong. Here is how to fix the most common issues:
“My crust is soggy in the middle.”
- The Cause: Too many toppings or too much sauce.
- The Fix: Next time, reduce the sauce and ensure your mushrooms are fully cooked before adding them. Also, check that your oven and stone were preheated for at least 45 minutes.
“The dough keeps shrinking back when I roll it.”
- The Cause: The gluten is too tight/active.
- The Fix: Cover the dough with a towel and let it rest for 10-15 minutes. This allows the proteins to relax, making it much easier to roll out.
“The cheese is burnt, but the crust is raw.”
- The Cause: The pizza is too high in the oven.
- The Fix: Move your stone or steel to a lower rack. This puts the crust closer to the heating element, ensuring the bottom cooks at the same rate as the top.
“My pizza is stuck to the peel!”
- The Cause: Moisture in the dough has soaked into the peel, or you took too long to assemble the toppings.
- The Fix: Work quickly! Have all your toppings ready before you put the dough on the peel. If it does stick, gently lift the edge and blow a puff of air under the dough, or throw a little more flour underneath.
Variations to Try
Once you have mastered the basic Pepperoni and Mushroom Thin Crust, you can start experimenting.
- The Spicy Honey Twist: After the pizza comes out of the oven, drizzle it with “Hot Honey.” The sweetness complements the salty pepperoni and earthy mushrooms perfectly.
- The Garlic Butter Crust: Brush the edges of the crust with a mixture of melted butter, garlic salt, and dried parsley five minutes before the pizza is finished baking.
- The Veggie Power-Up: Add thinly sliced green bell peppers and red onions. To keep the “thin crust” integrity, slice them paper-thin so they cook quickly without releasing too much moisture.
- The Truffle Touch: Use a small drizzle of truffle oil over the mushrooms for an ultra-luxurious flavor profile.
Pairing Your Pizza
A gourmet homemade pizza deserves a great beverage pairing.
- Wine: A classic Chianti or a Sangiovese is the traditional choice. The acidity in the wine cuts through the richness of the cheese and pepperoni. For a white wine, a crisp Pinot Grigio works well.
- Beer: A Pilsner or a light IPA provides a refreshing bitterness that cleanses the palate between bites of spicy pepperoni.
- Non-Alcoholic: A San Pellegrino Aranciata (sparkling orange) or a simple sparkling water with a squeeze of lemon offers a bright, acidic contrast to the savory toppings.
Storage and Reheating
If you happen to have leftovers (a rare occurrence!), knowing how to store and reheat them is vital for maintaining that thin-crust crunch.
Storage: Wrap individual slices in aluminum foil or place them in an airtight container. They will stay fresh in the refrigerator for up to 3 days.
The Reheating Secret: Never use a microwave; it will turn your beautiful thin crust into a rubbery mess. Instead:
- Place a cold skillet over medium heat.
- Add the pizza slice directly to the dry pan.
- Cover the pan with a lid or a piece of foil.
- Heat for 3-5 minutes. The pan crisps the bottom, while the lid traps enough heat to re-melt the cheese.
Conclusion: The Joy of Home Pizza Making
Mastering the Easy Homemade Pepperoni and Mushroom Thin Crust Pizza is about more than just following a recipe; it’s about the joy of creation. There is something profoundly satisfying about transforming simple ingredients like flour, water, and yeast into a crispy, flavorful meal that brings people together.
This pizza represents the perfect balance of textures and tastes. The snap of the crust, the zing of the pepperoni, the earthy depth of the mushrooms, and the creamy pull of the cheese create a symphony of flavor in every bite. By paying attention to the details—sautéing your mushrooms, preheating your oven properly, and rolling your dough with care—you elevate a simple weeknight dinner into a gourmet event.
So, clear your counter, dust off your rolling pin, and get ready to experience the best thin-crust pizza you’ve ever had—made right in your own kitchen. Happy baking!
